Tutorial 01
Generate an Image
Turn a sketch, 3D screenshot, model photo, or a photo of a real building into a photorealistic image.
1 Open the workspace
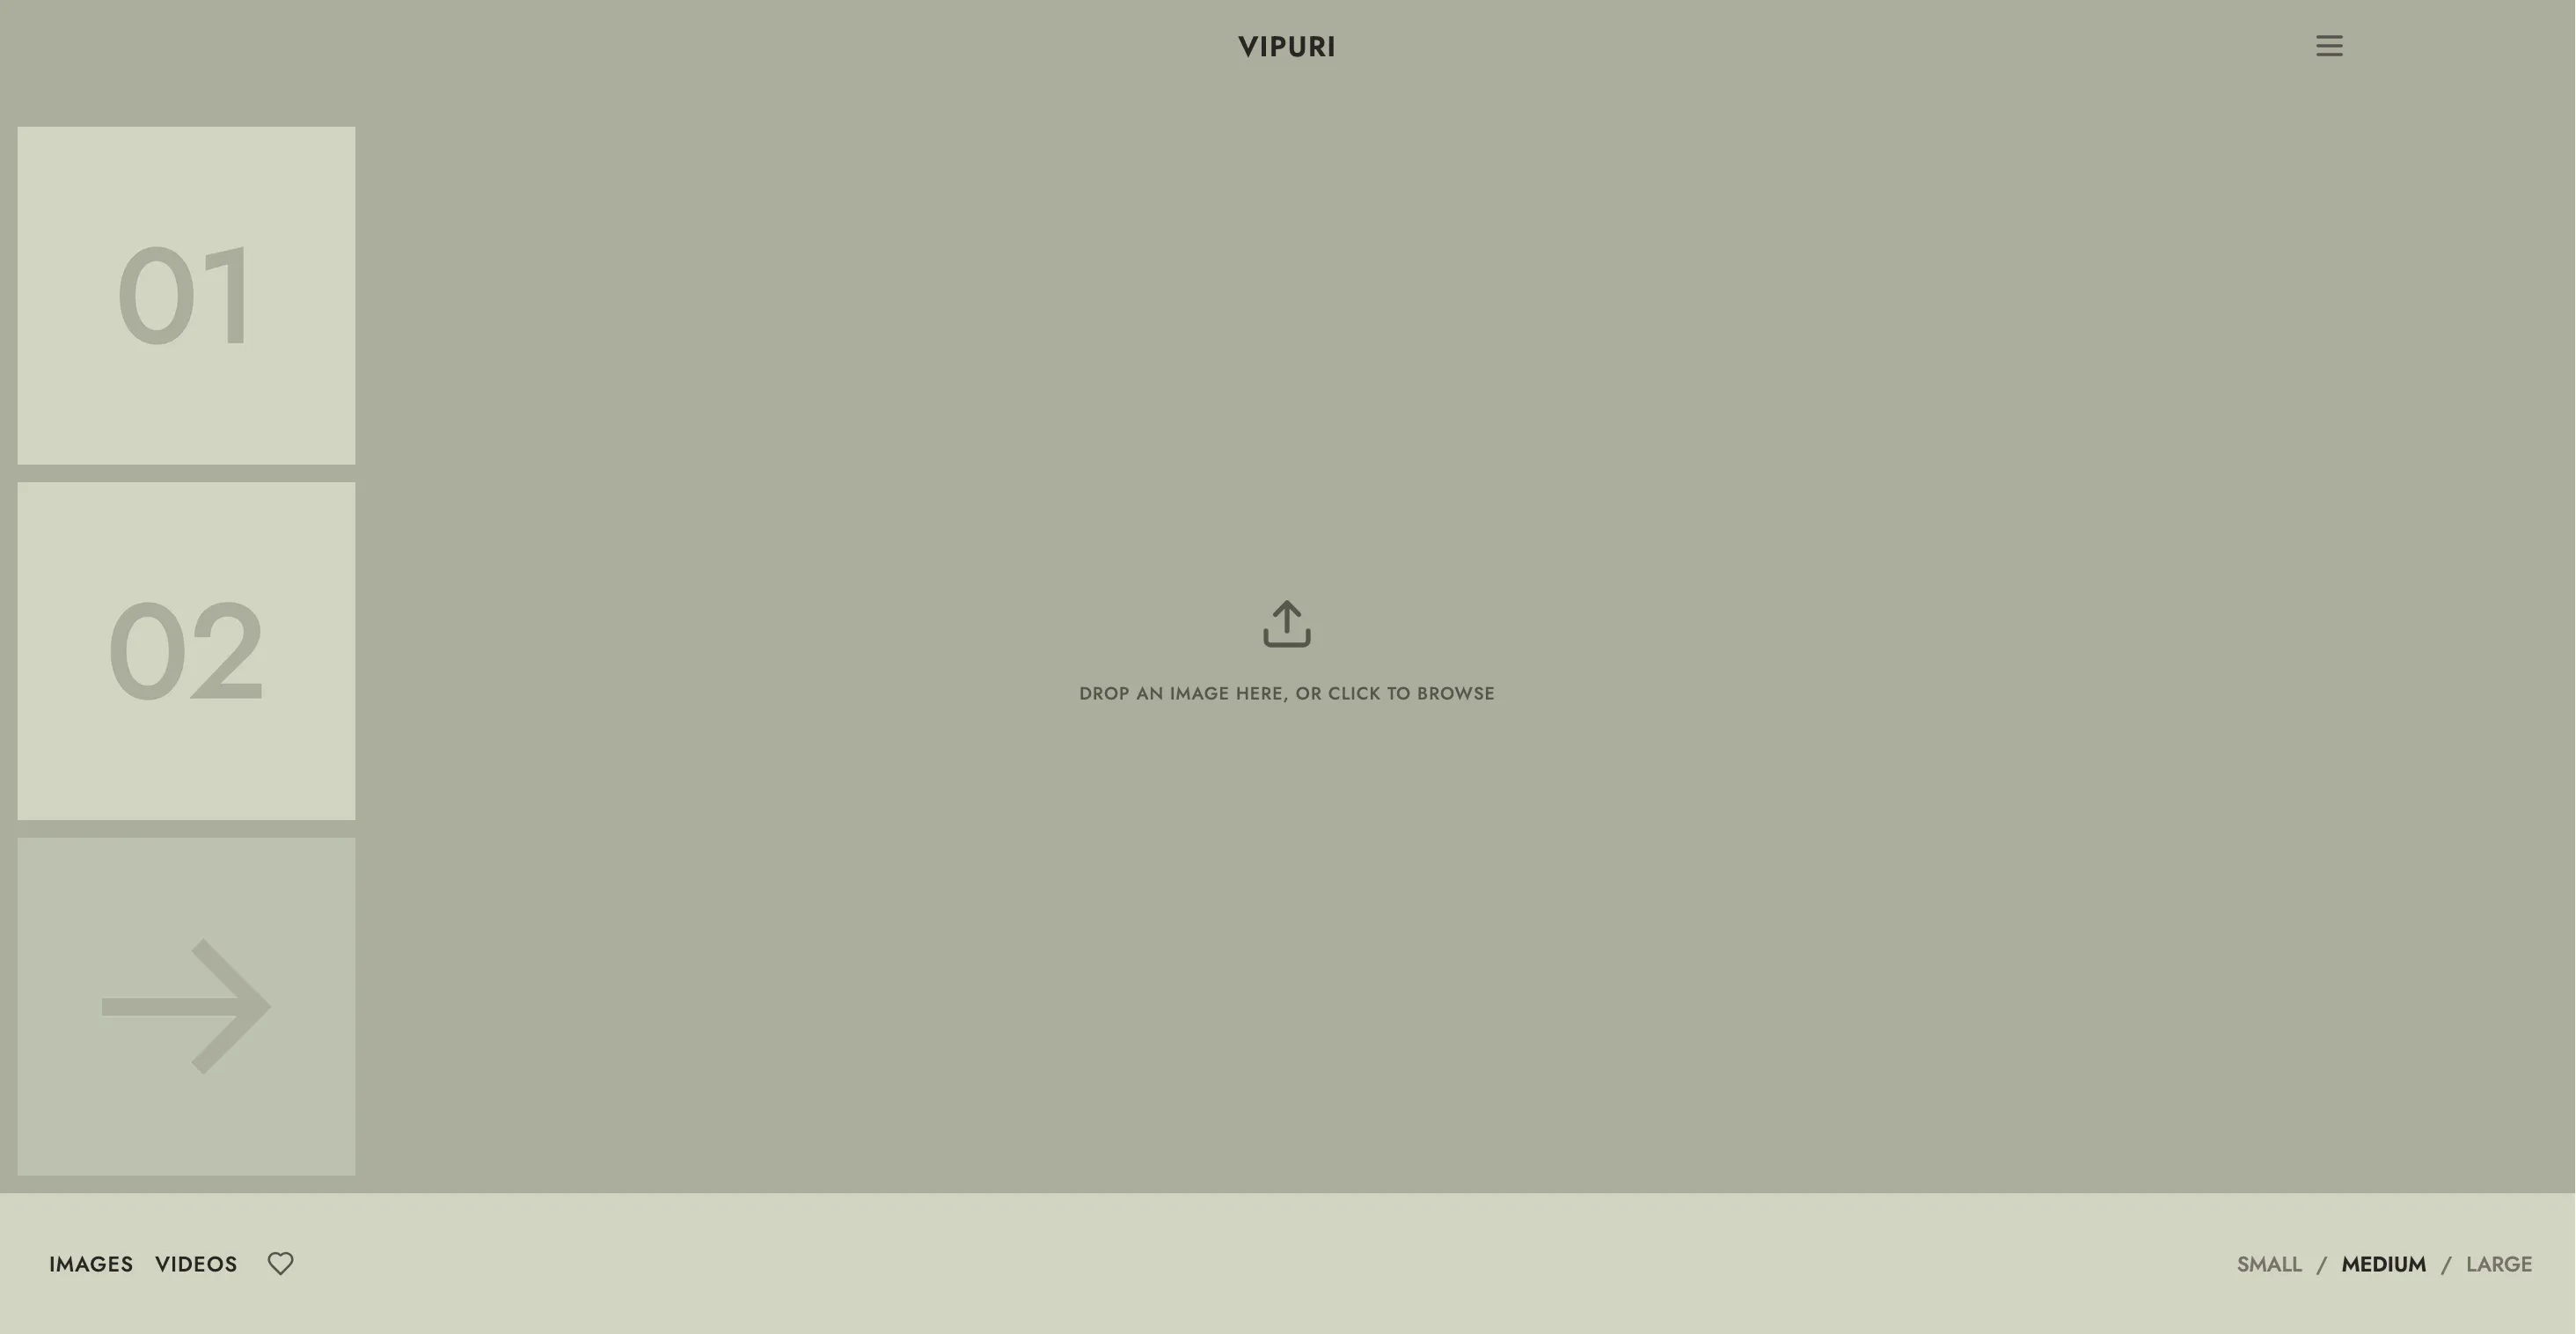
Sign in and you'll land on the main workspace. On desktop it shows two square buttons on the left (labeled 01 and 02) and an arrow-shaped Generate button. On mobile, the same three buttons sit in a row above the image area.
2 Upload your base image
Click button 01. A full-screen picker opens, showing any images you've used before plus an Upload tile.
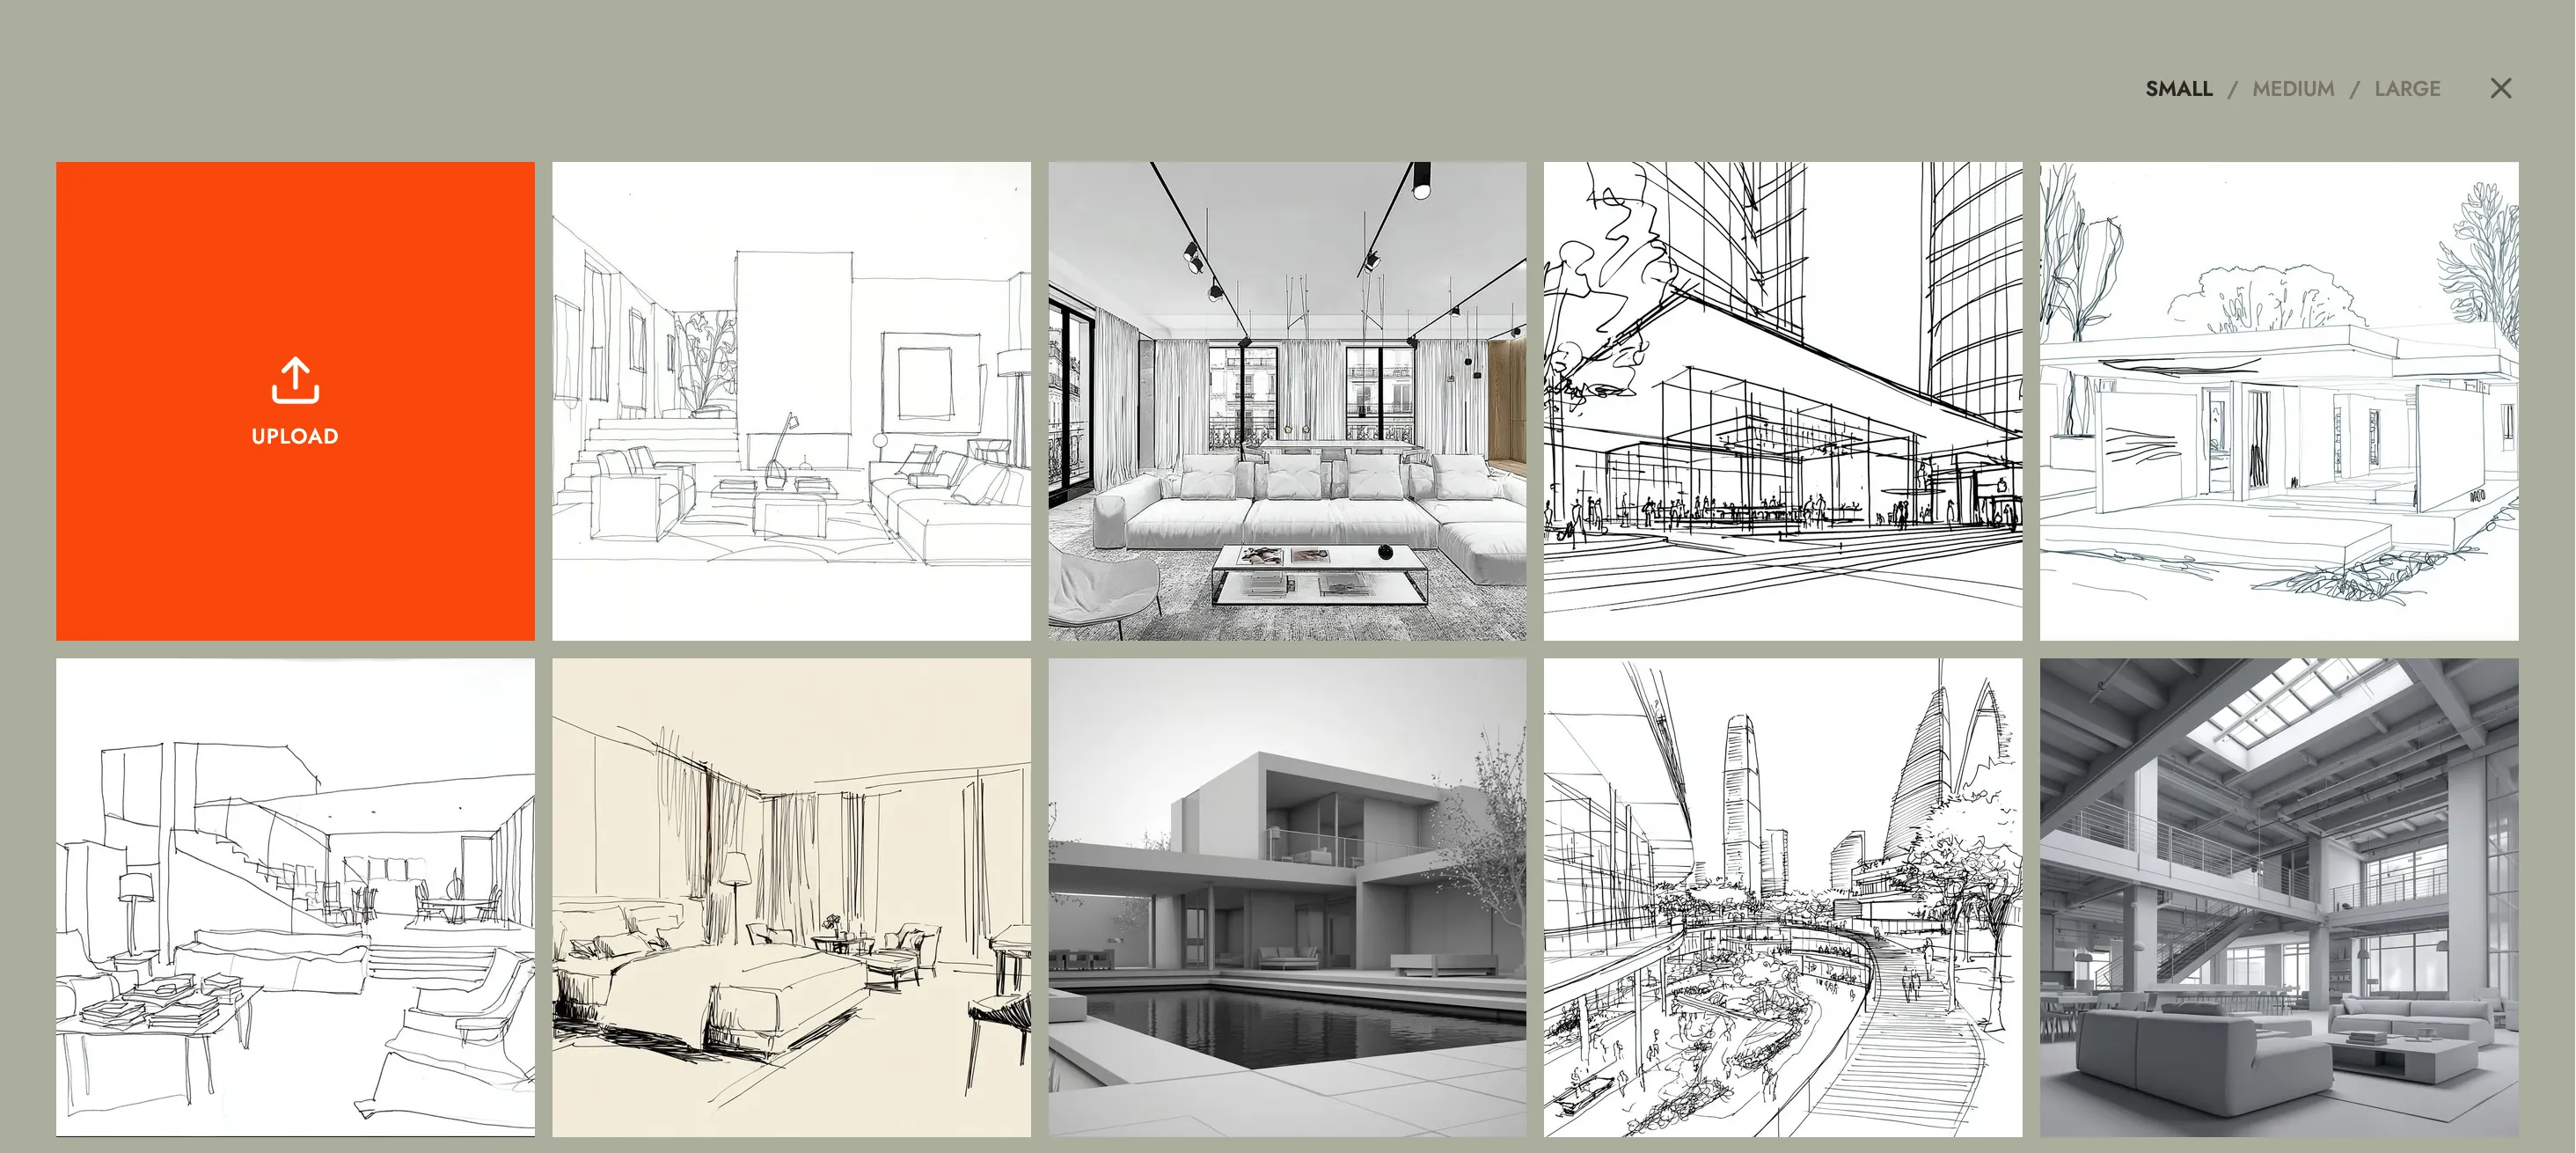
Click Upload and choose a file from your device.
Vipuri automatically analyzes your image while it uploads to detect whether it's a rough sketch or a more precise sketch/photo.
3 Choose a style preset
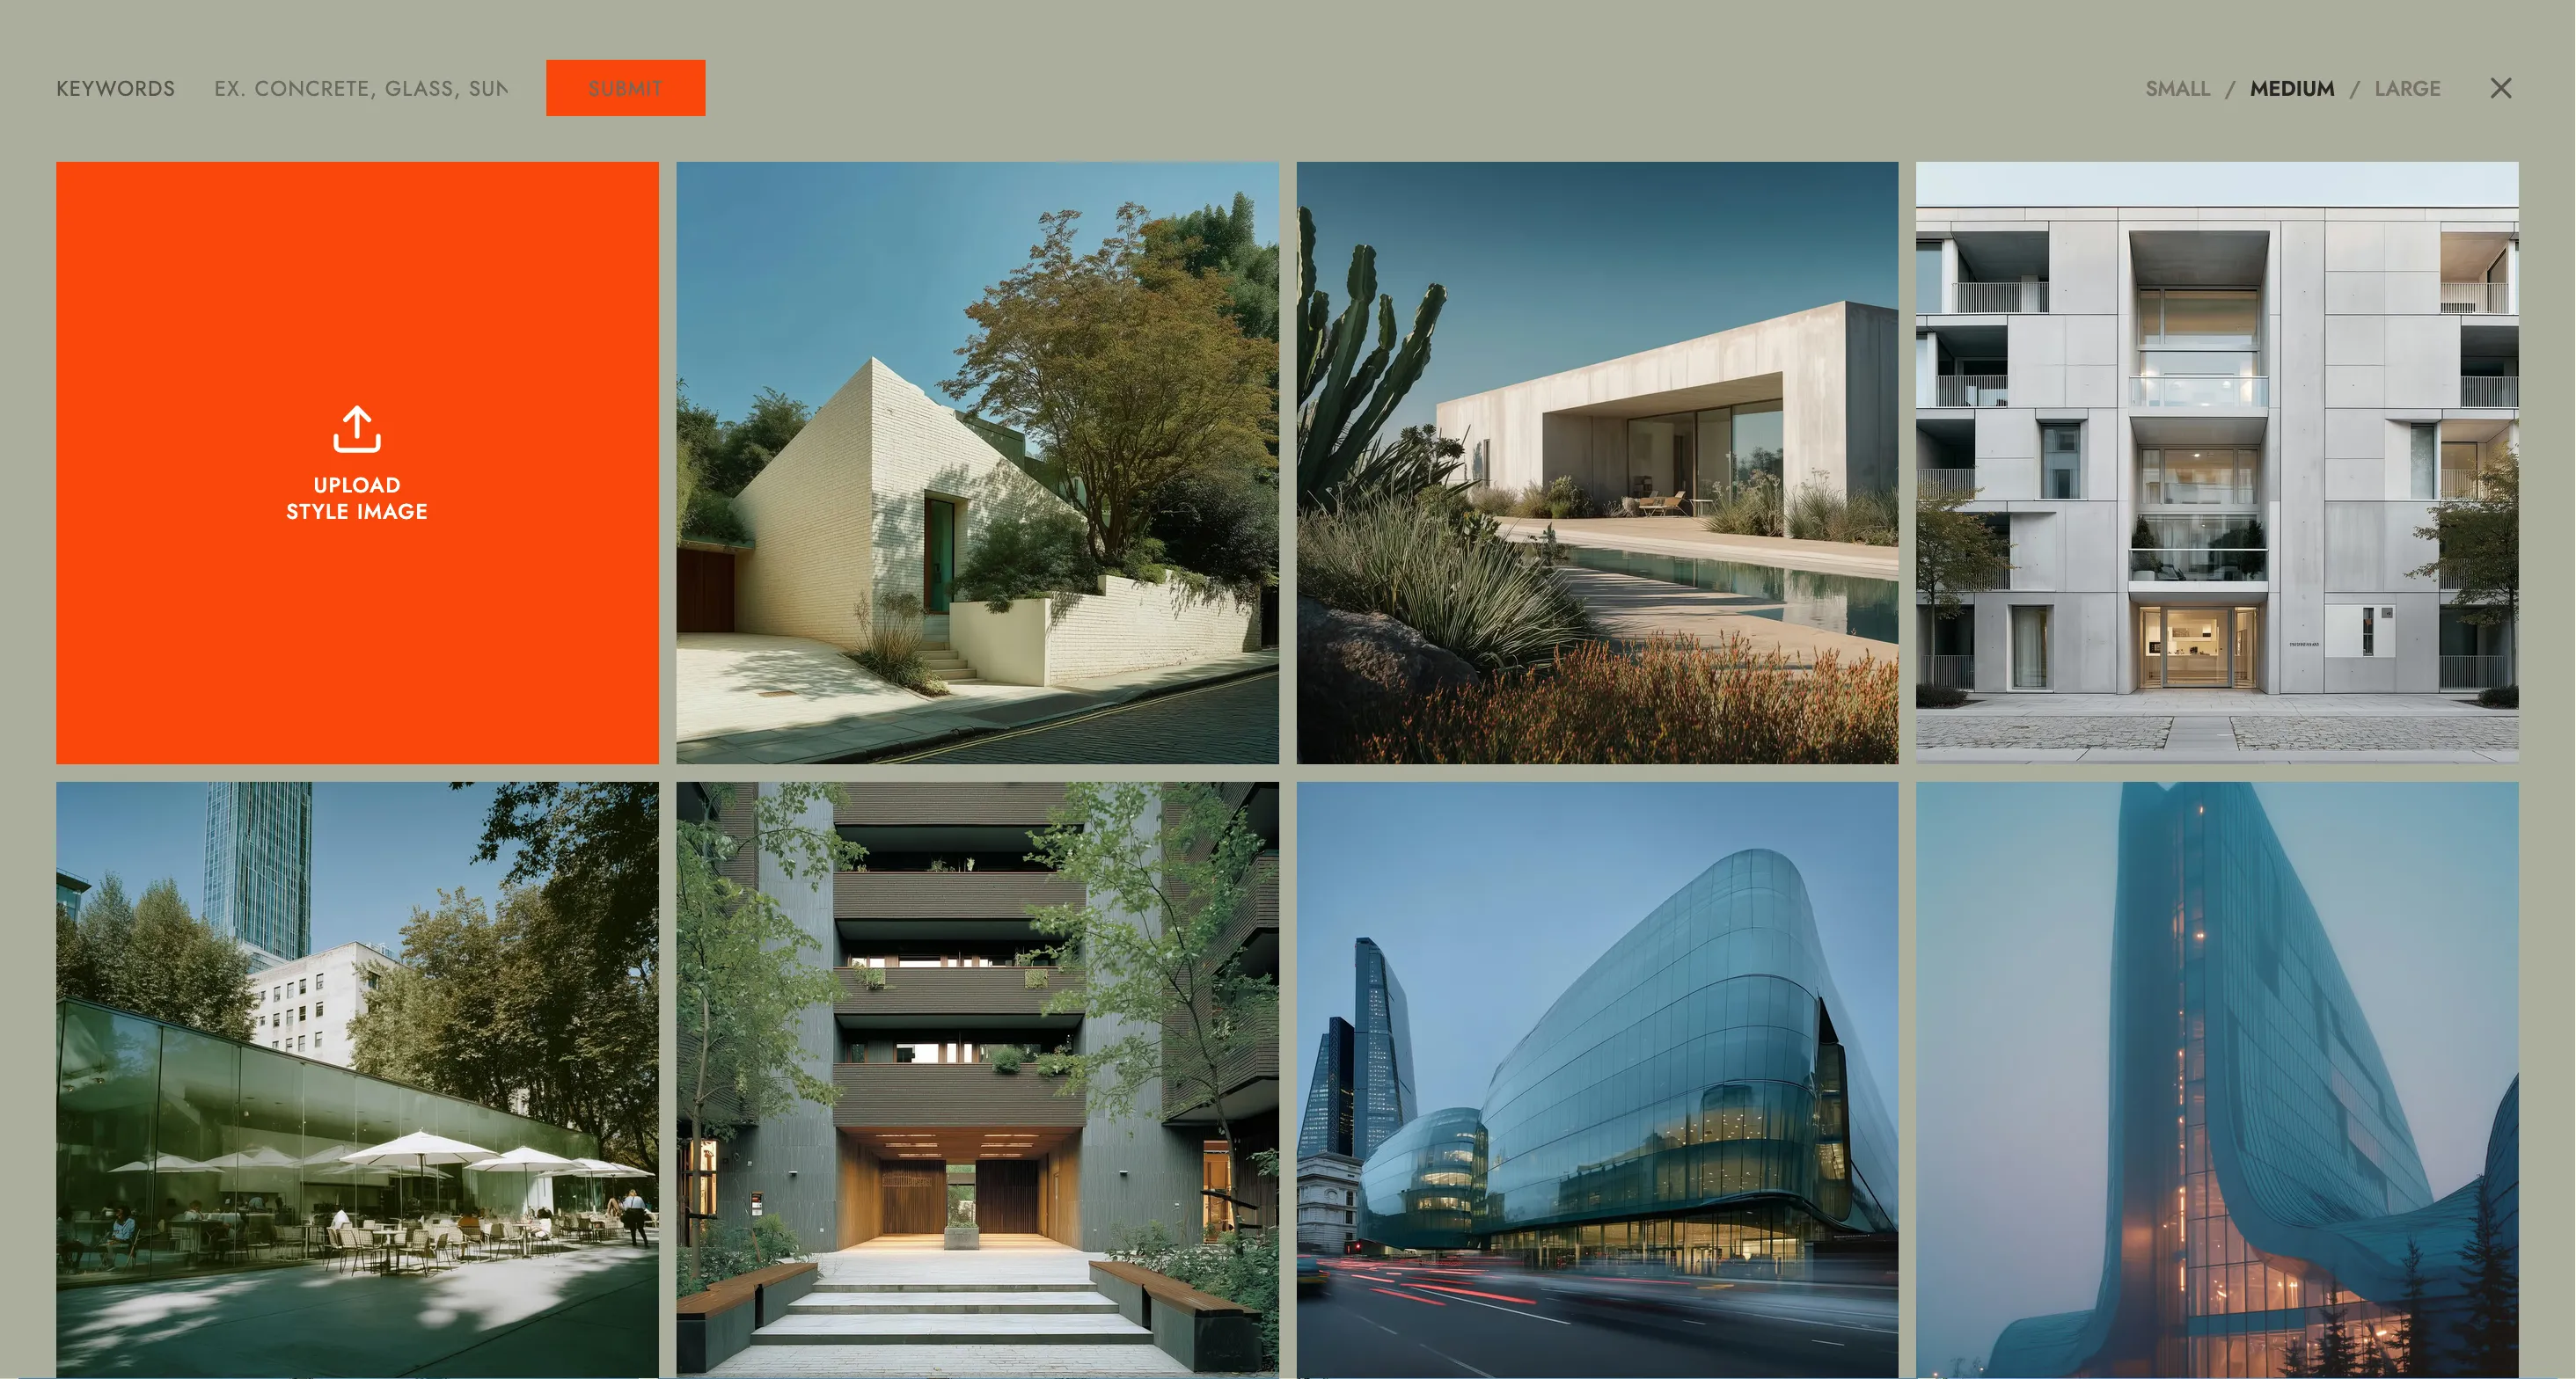
Click button 02. Browse the preset grid, or type a keyword (like "concrete," "pool," or "glass") into the search bar to filter. Click any thumbnail to apply that style — the selector closes automatically. Prefer your own reference? Click the orange Upload Style Image tile to use a photo of your own instead of a preset.
4 Generate
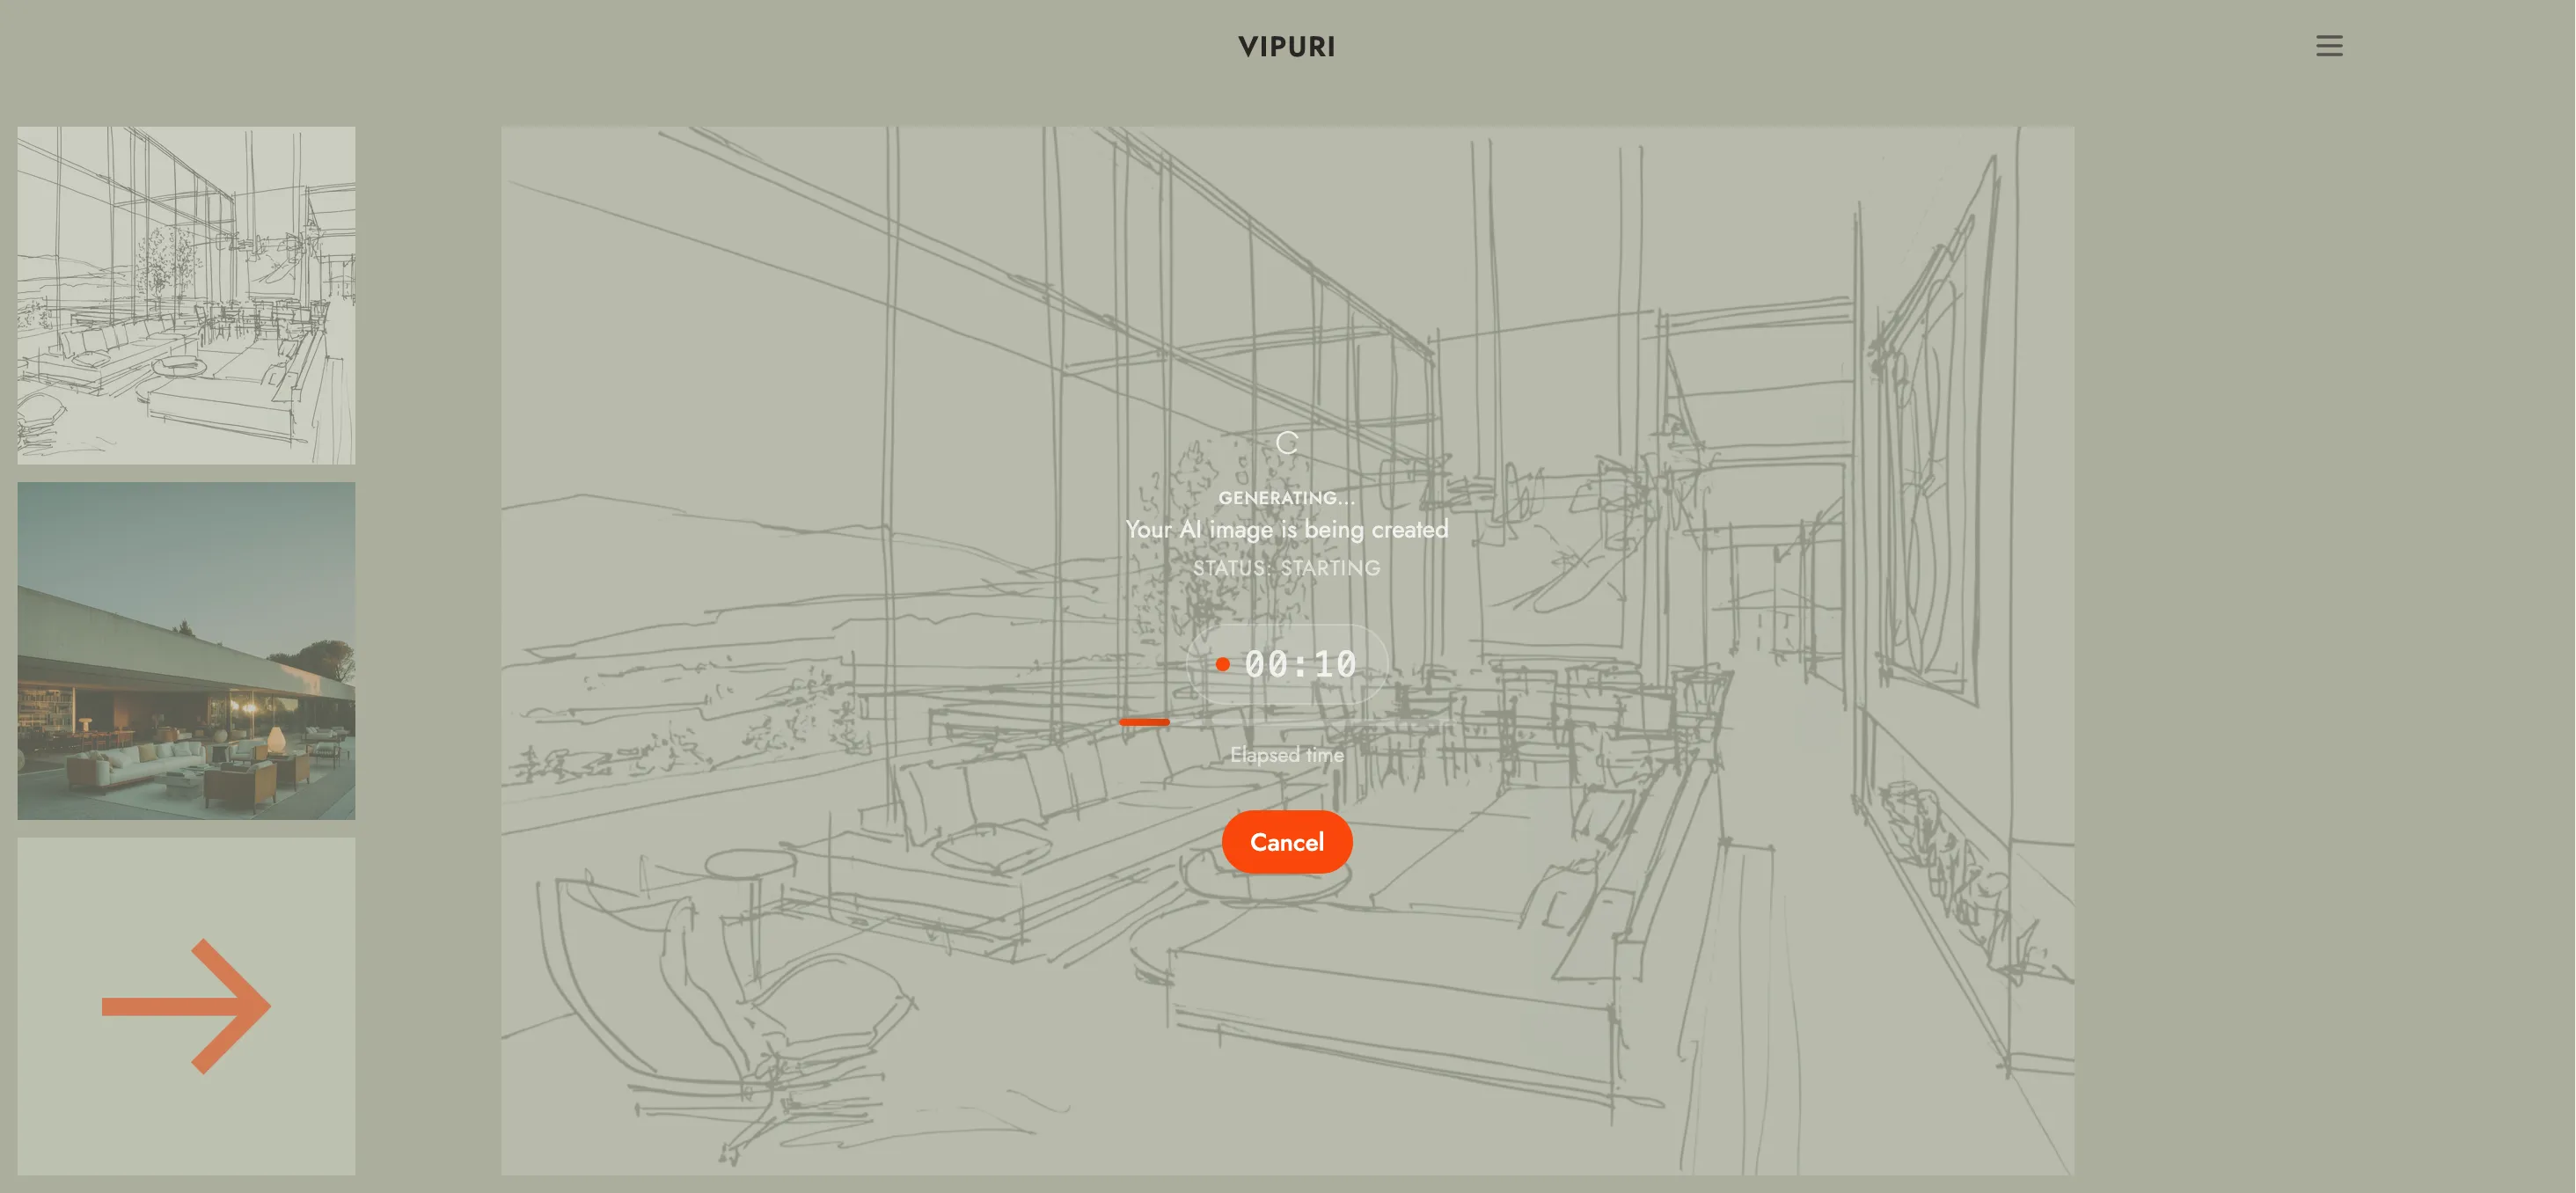
Once you have both an image and a preset selected, the arrow (Generate) button lights up. Click it. A short countdown with an elapsed-time indicator appears while your image is created.
5 Review your result
Your generated image appears over your original in a before/after slider. Drag it left or right to compare the two.
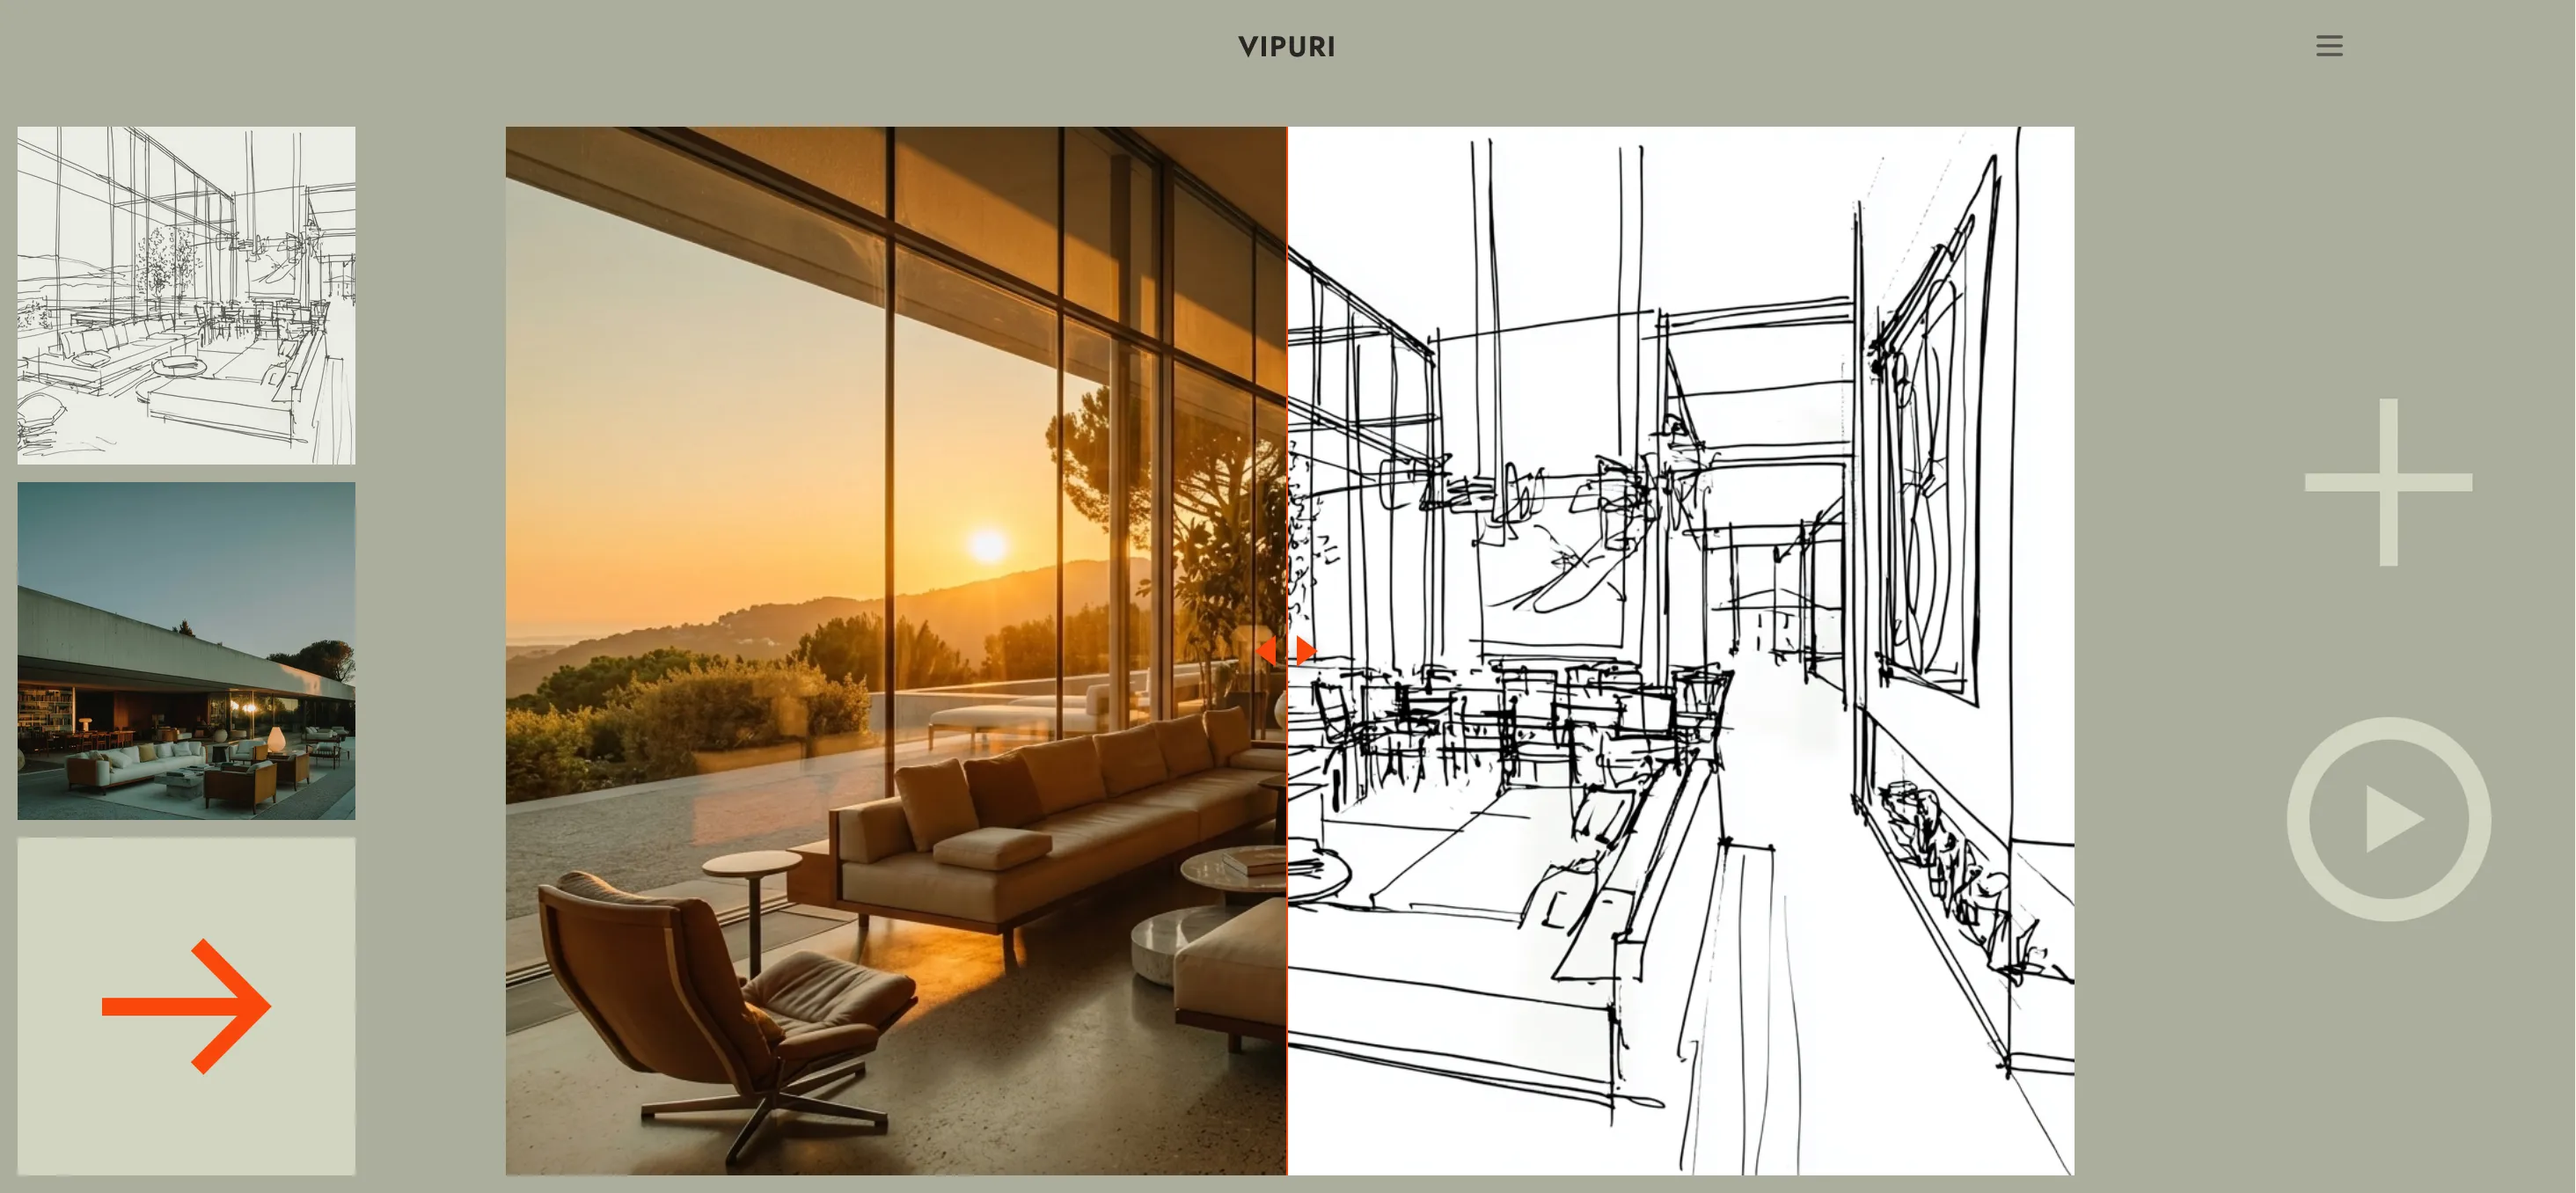
Tip: click Generate again with the same image and preset to get a different interpretation — Vipuri won't produce the exact same result twice.