Tutorial 02
Using the Gallery
Every image and video you create is saved automatically to your Gallery, just below the main workspace.
1 Find the Gallery
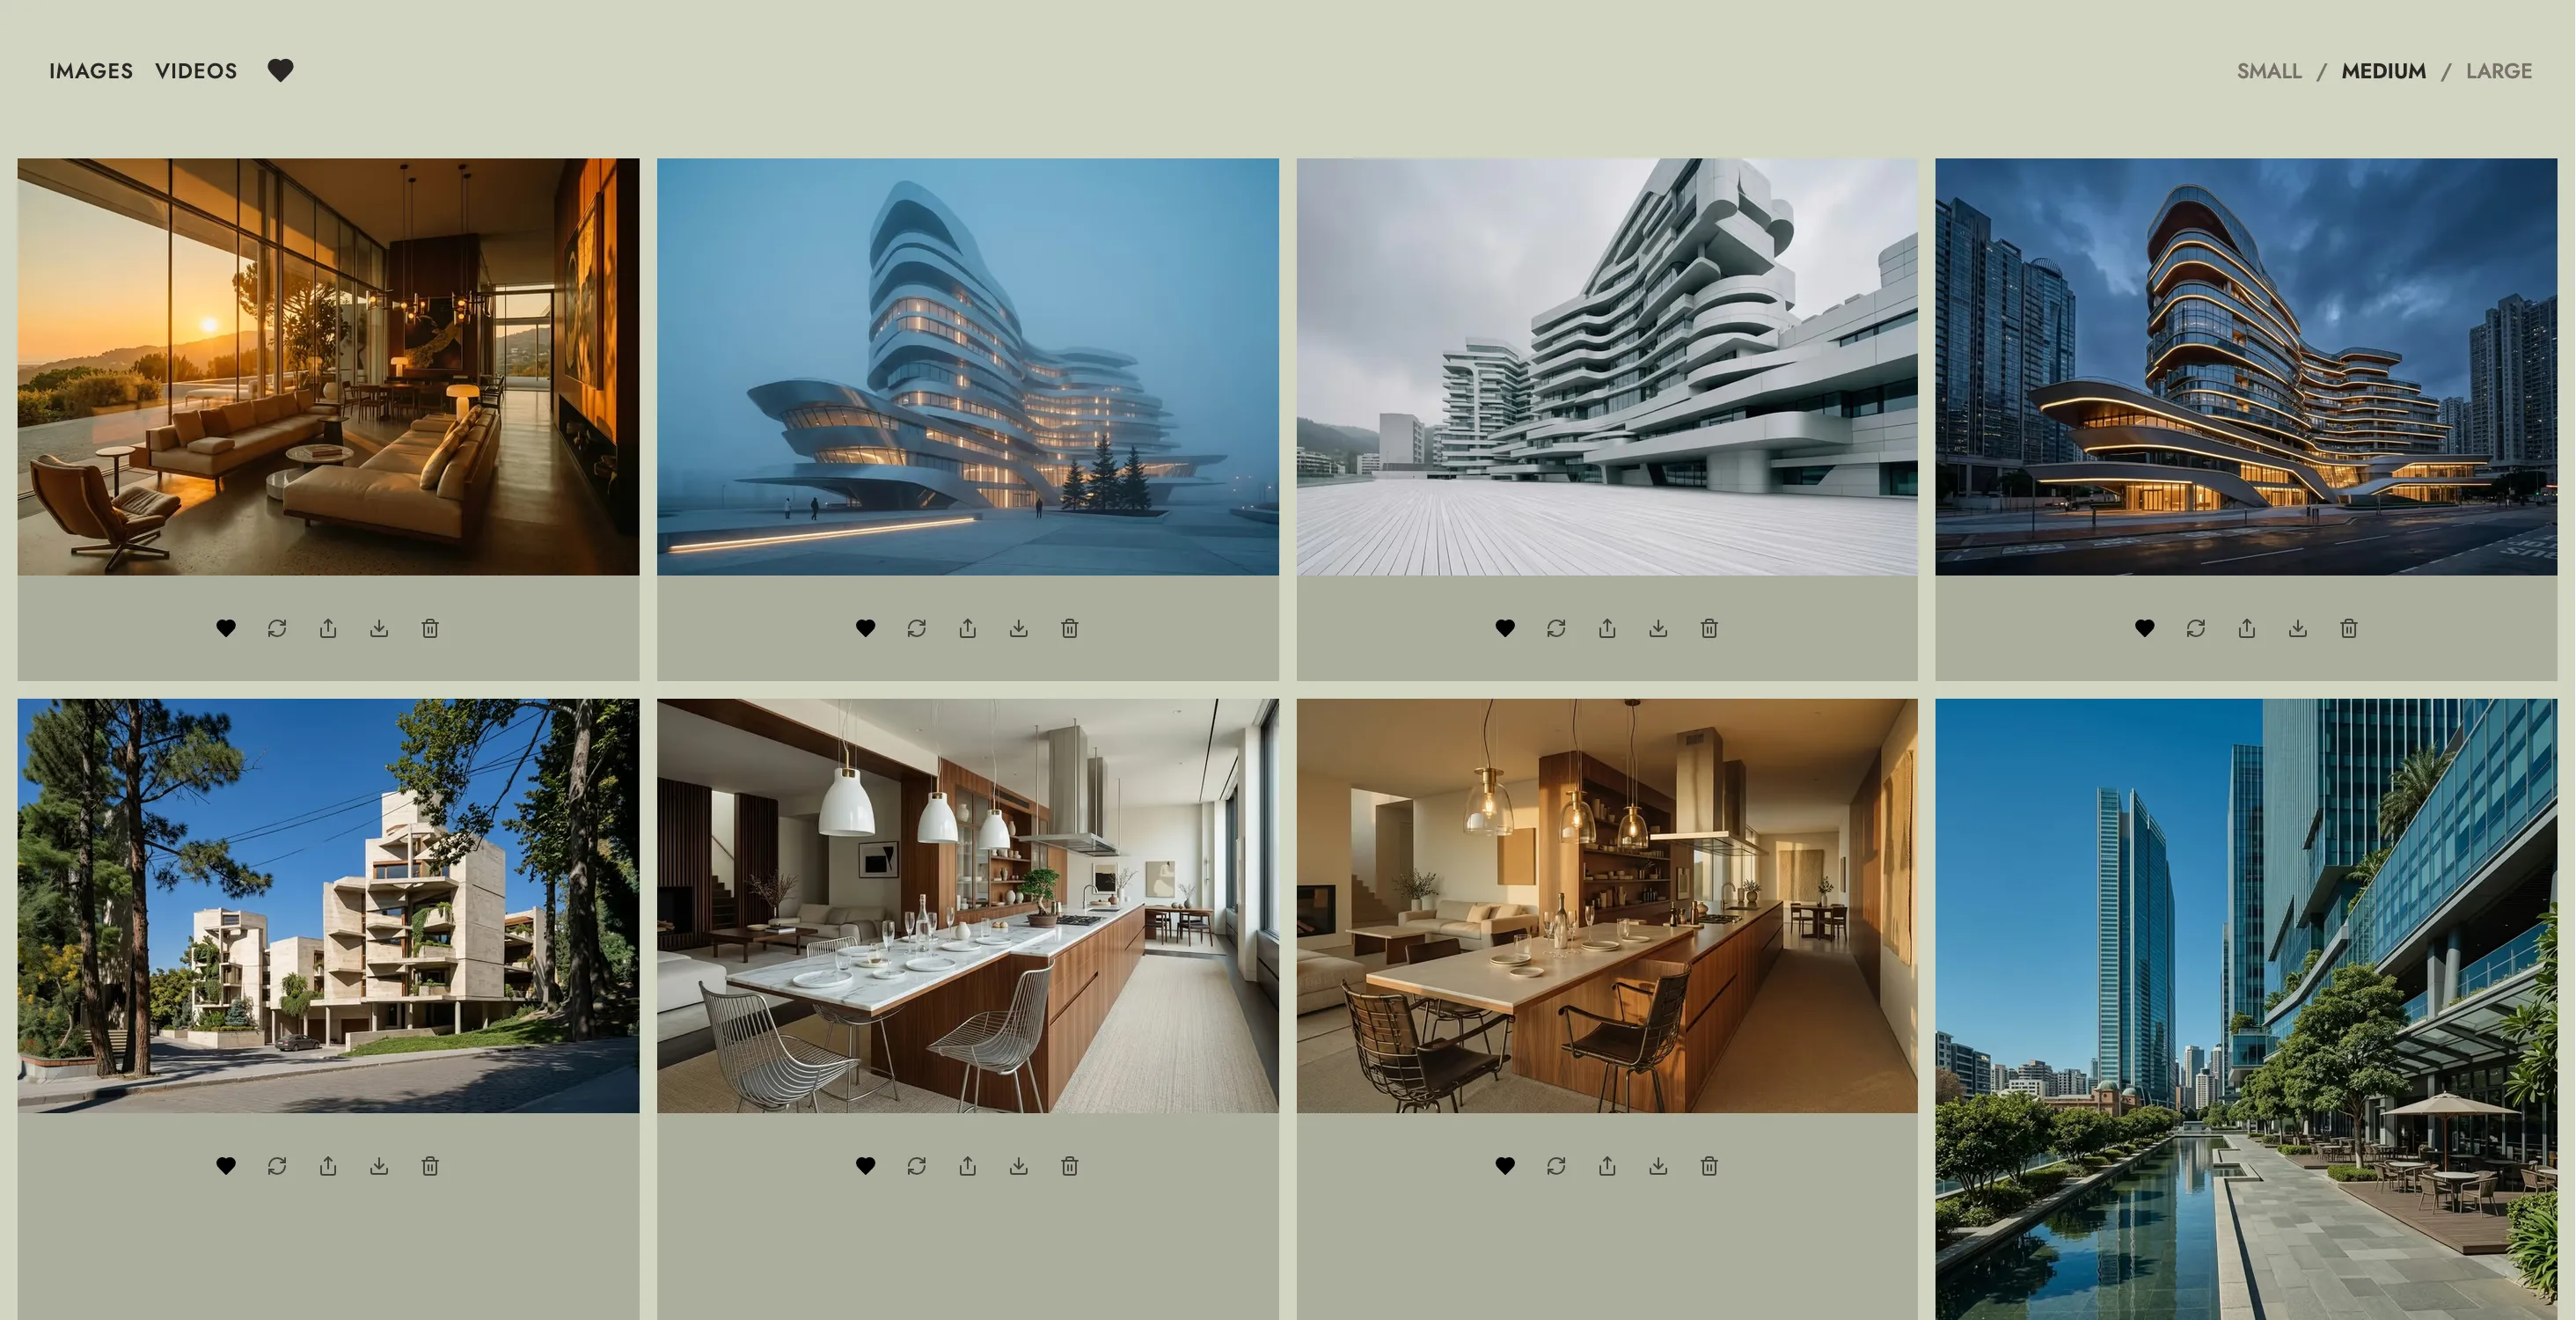
Scroll down below the workspace to see all your past generations in a grid.
2 Filter and resize the grid
At the top of the Gallery:
- Images / Videos — toggle either one off to hide that type.
- ♡ Heart icon — shows only the items you've liked.
- Small / Medium / Large (top-right) — changes the thumbnail grid size.

3 Open an item
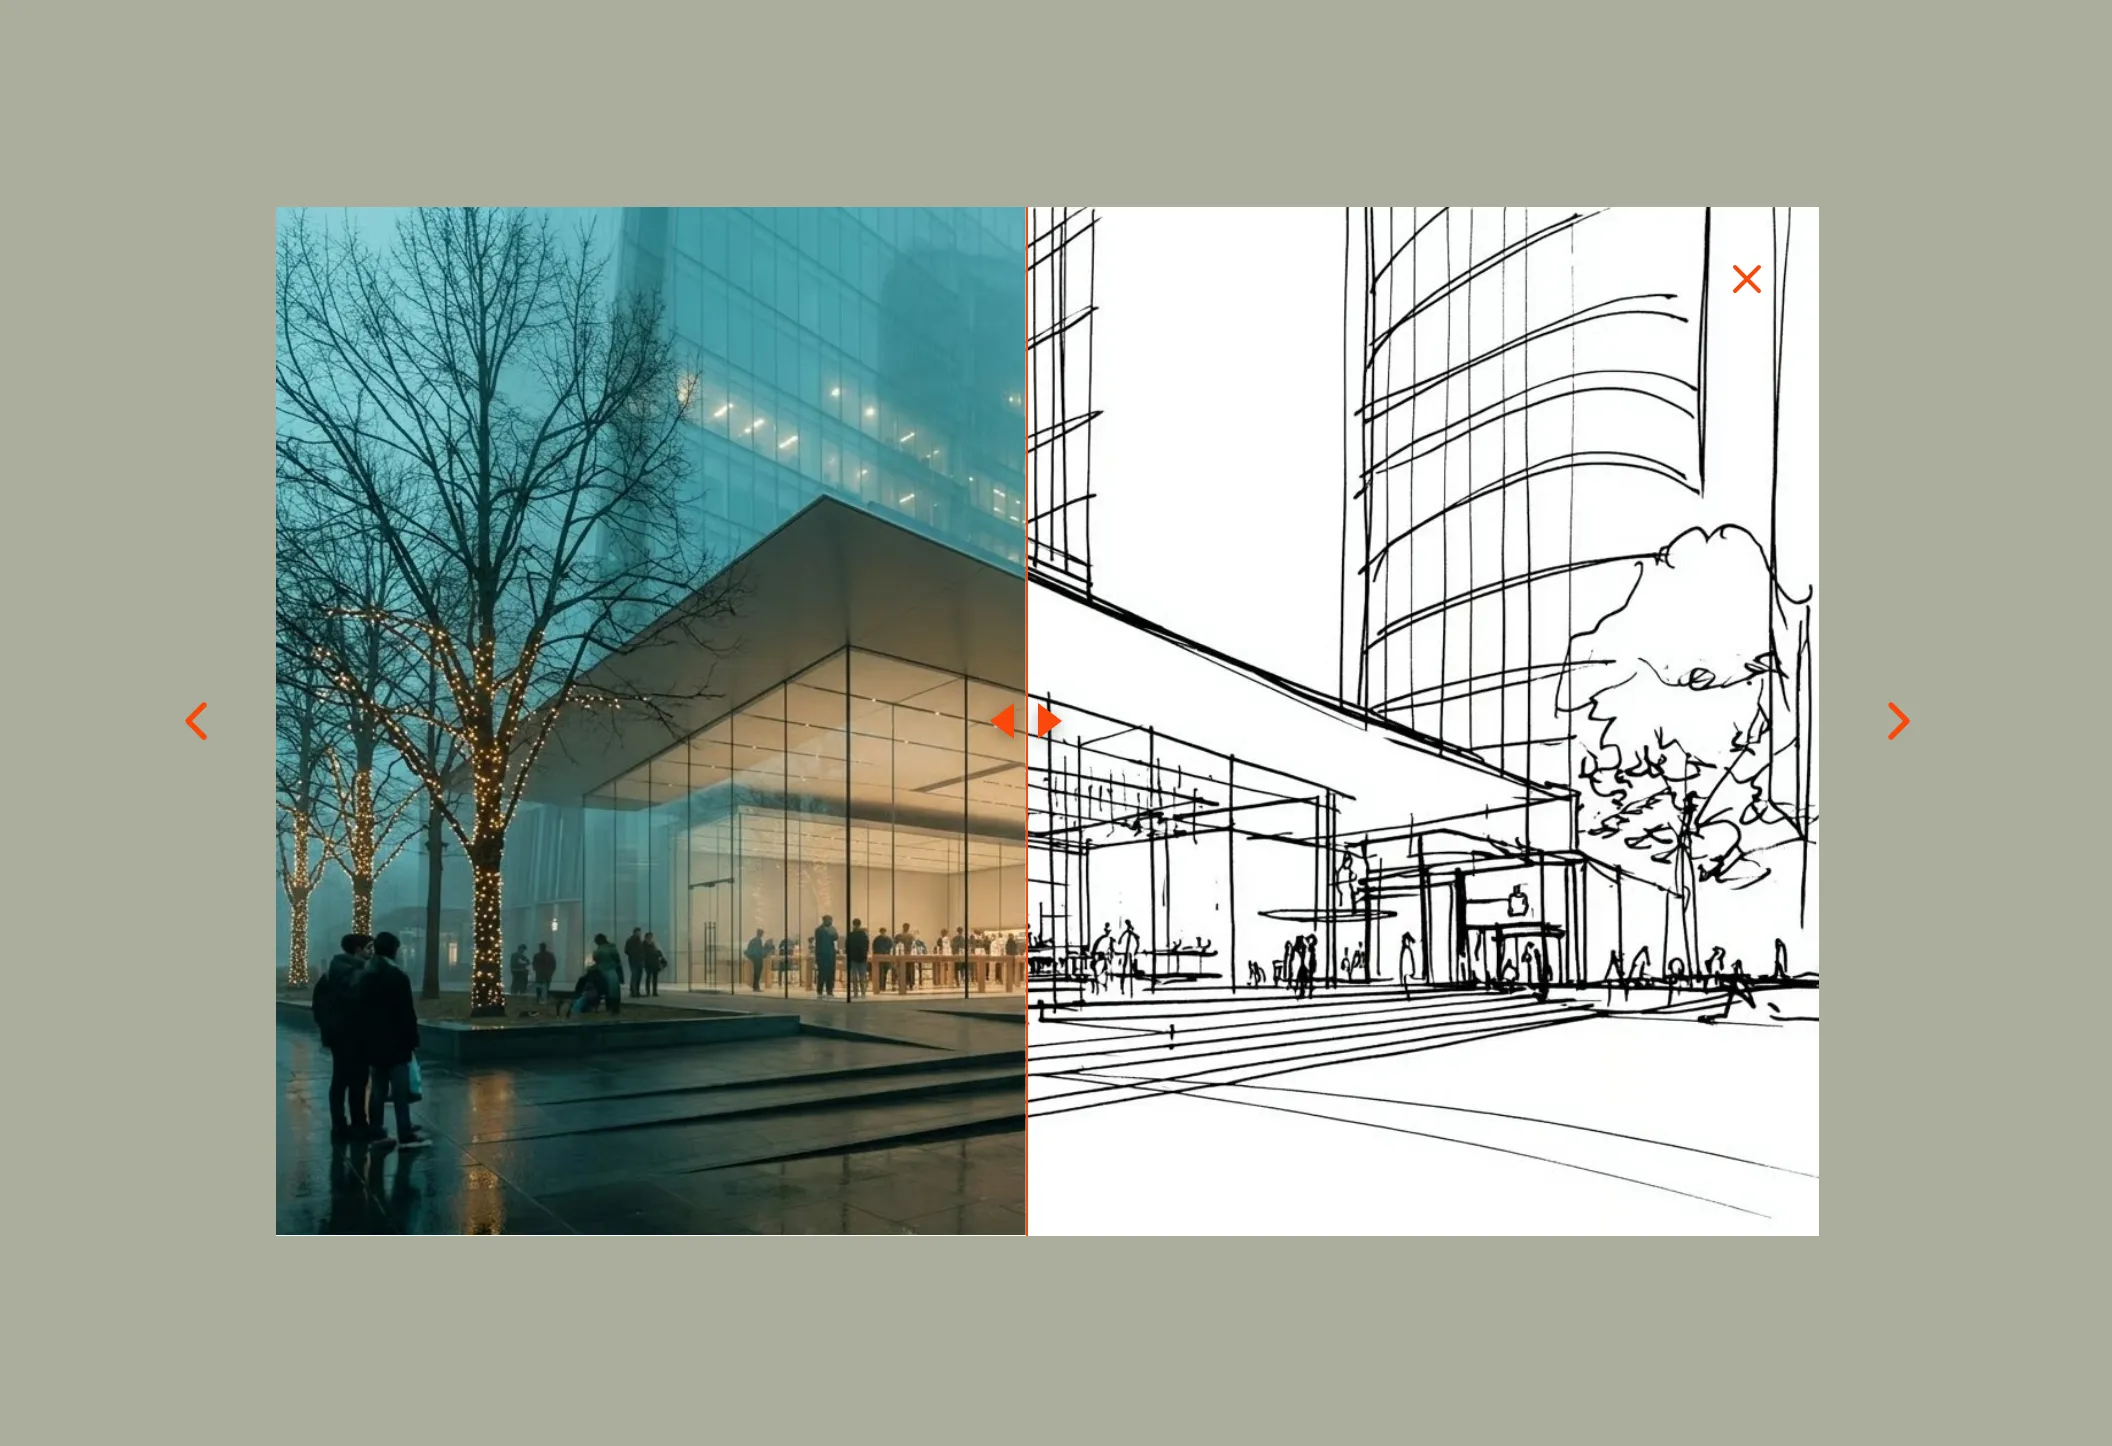
Click any thumbnail to view it full-size. Use the left/right arrows (or your keyboard's arrow keys) to move between items without closing the view.
4 Use the actions below each thumbnail
For images:
| Icon | Action |
|---|---|
| ♡ | Like — adds it to your Liked filter |
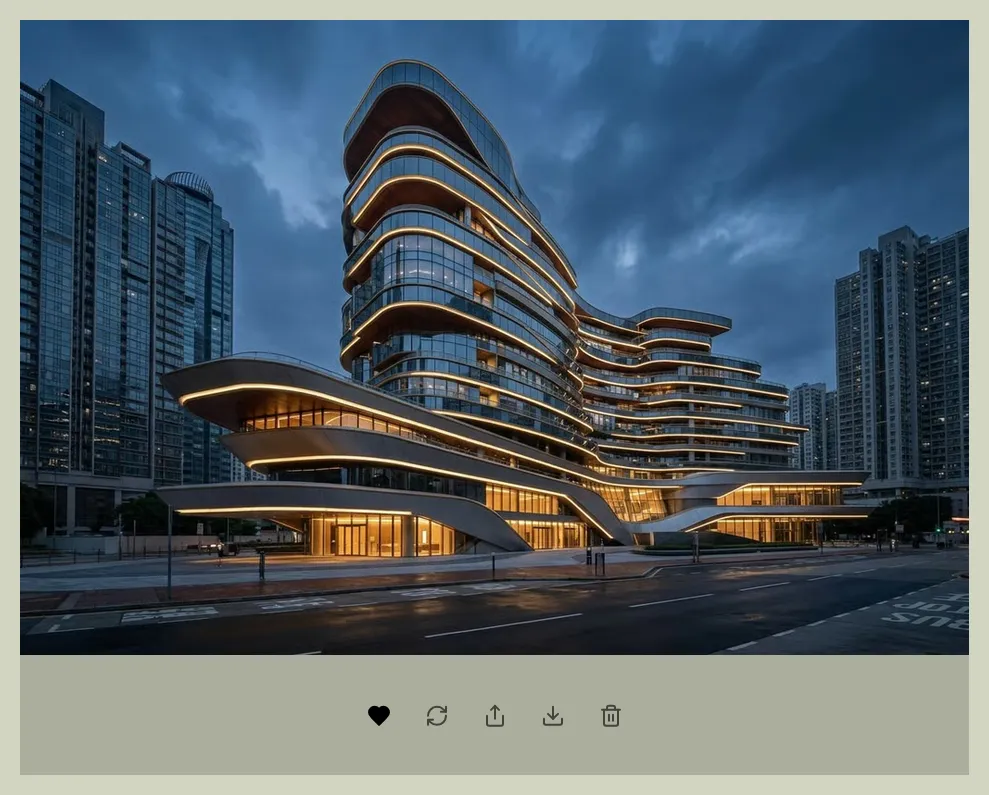
| ⟳ | Load into work area — sends the image, its original preset, and its source photo back to the top workspace so you can keep editing |
| Share | Copies a public before/after link to your clipboard |
| ↓ | Download — saves the full-resolution image to your device |
| 🗑 | Delete — permanently removes it (asks you to confirm first) |
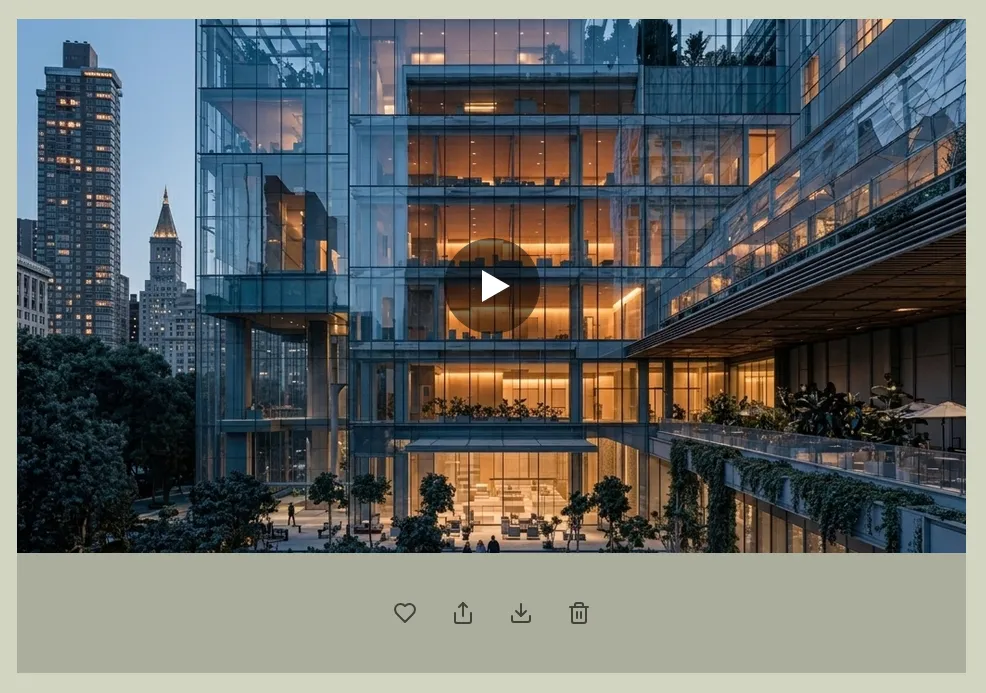
For videos, the same row shows Like, Share, Download, and Delete (no "load into work area," since videos aren't editable further).