Tutorial 01
Generate an Image
Turn a sketch, 3D screenshot, model photo, or a photo of a real building into a photorealistic image.
1 Open the workspace
Sign in and you'll land on the main workspace. On desktop it shows two square buttons on the left (labeled 01 and 02) and an arrow-shaped Generate button. On mobile, the same three buttons sit in a row above the image area.
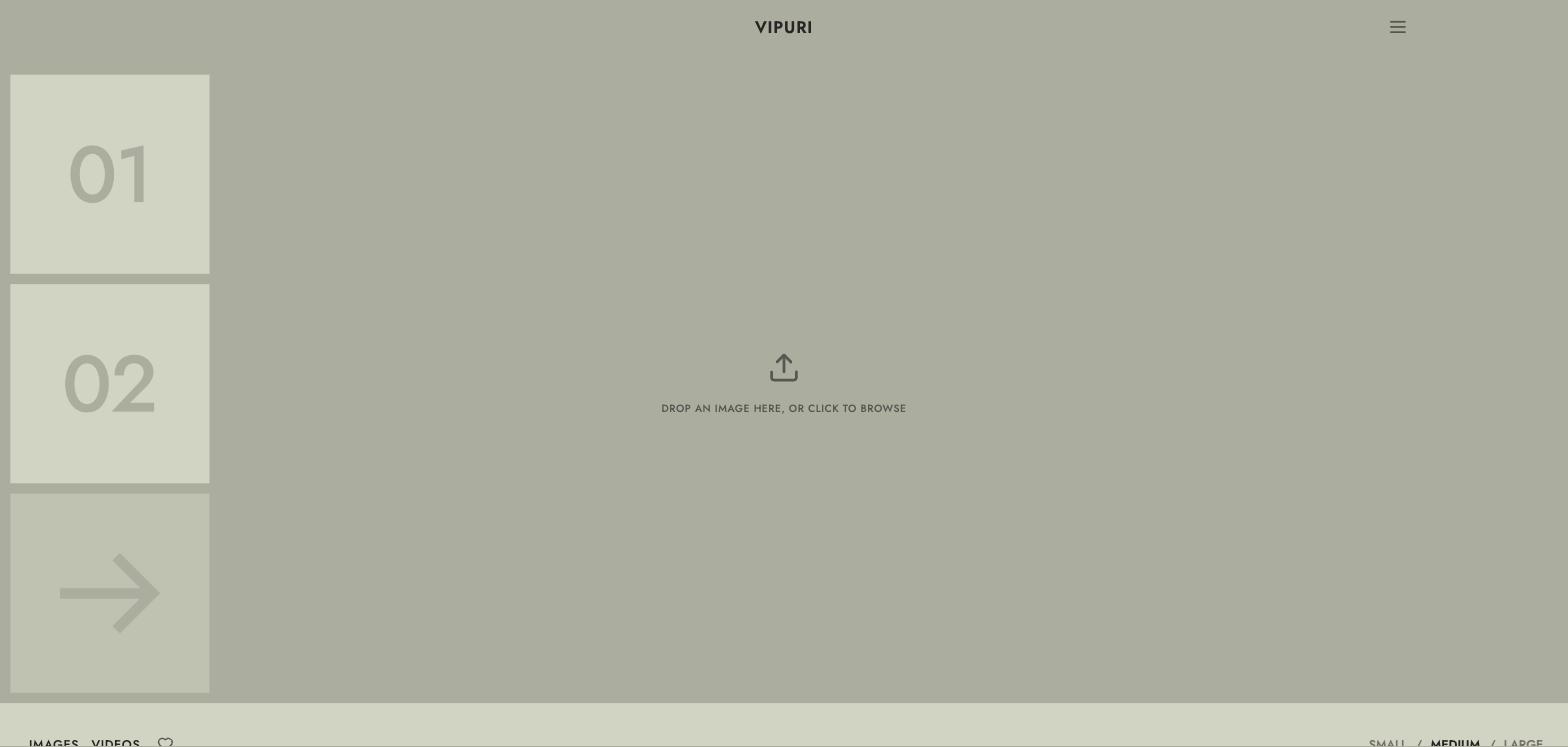
2 Upload your base image
Click button 01. A full-screen picker opens, showing any images you've used before plus an Upload tile.
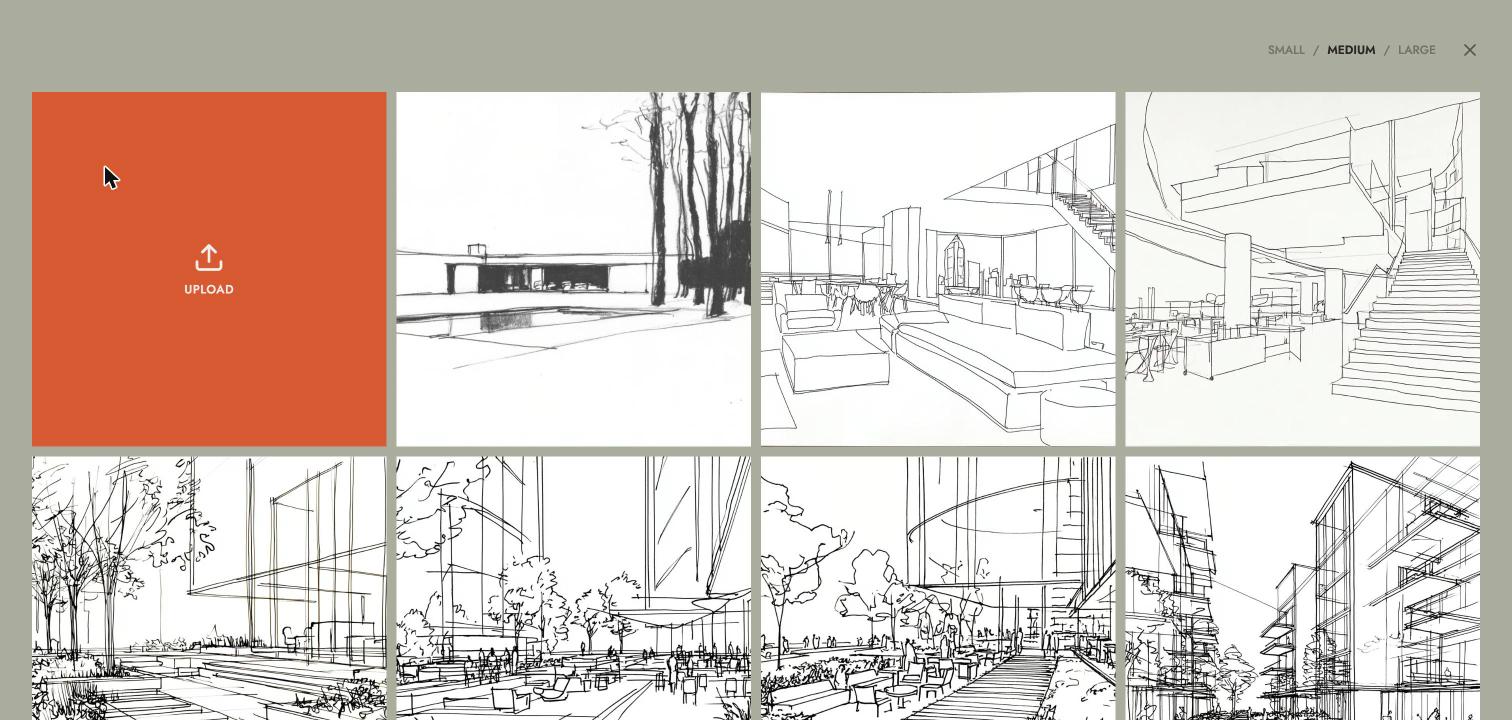
Click Upload and choose a file from your device. The first time you upload anything, a one-time dialog asks you to confirm you have the rights to the file — click Confirm to continue. This won't appear again on the same browser.
Screenshot placeholder
The upload rights confirmation dialog.
Vipuri automatically analyzes your image while it uploads to detect whether it's a rough sketch or a more precise sketch/photo — this sets the default in the next step.
3 Check the Accuracy setting
Once your image is uploaded, an Accuracy switch appears next to it. Hover the ⓘ icon for a reminder of what each setting does:
- High — best for 3D screenshots, photos, or precise, detailed drawings.
- Low — best for rough sketches drawn with loose, imperfect strokes.
Screenshot placeholder
The Accuracy toggle with the info tooltip open, showing the HIGH/LOW explanation.
4 Choose a style preset
Click button 02. Browse the preset grid, or type a keyword (like "concrete," "sunset," or "glass") into the search bar to filter. Click any thumbnail to apply that style — the selector closes automatically.

5 Generate
Once you have both an image and a preset selected, the arrow (Generate) button lights up. Click it. A short countdown with an elapsed-time indicator appears while your image is created — you can cancel at any point if needed.
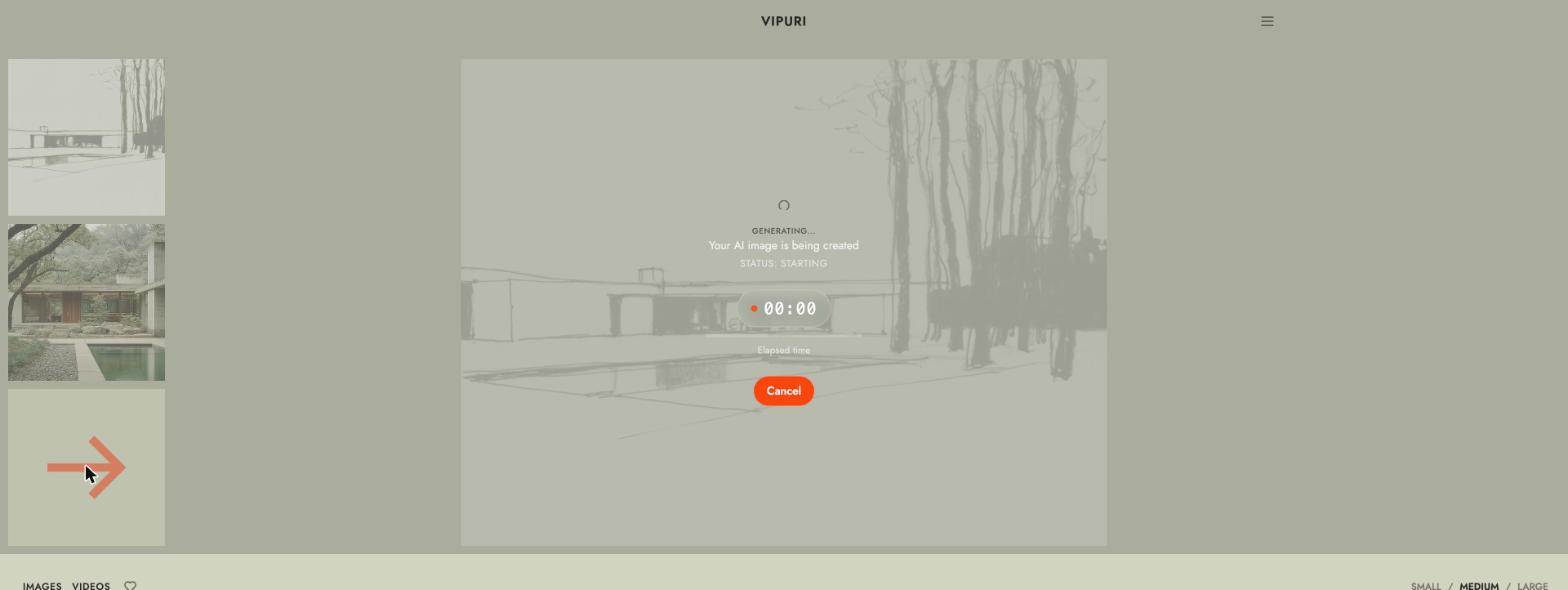
6 Review your result
Your generated image appears over your original in a before/after slider. Drag it left or right to compare the two.
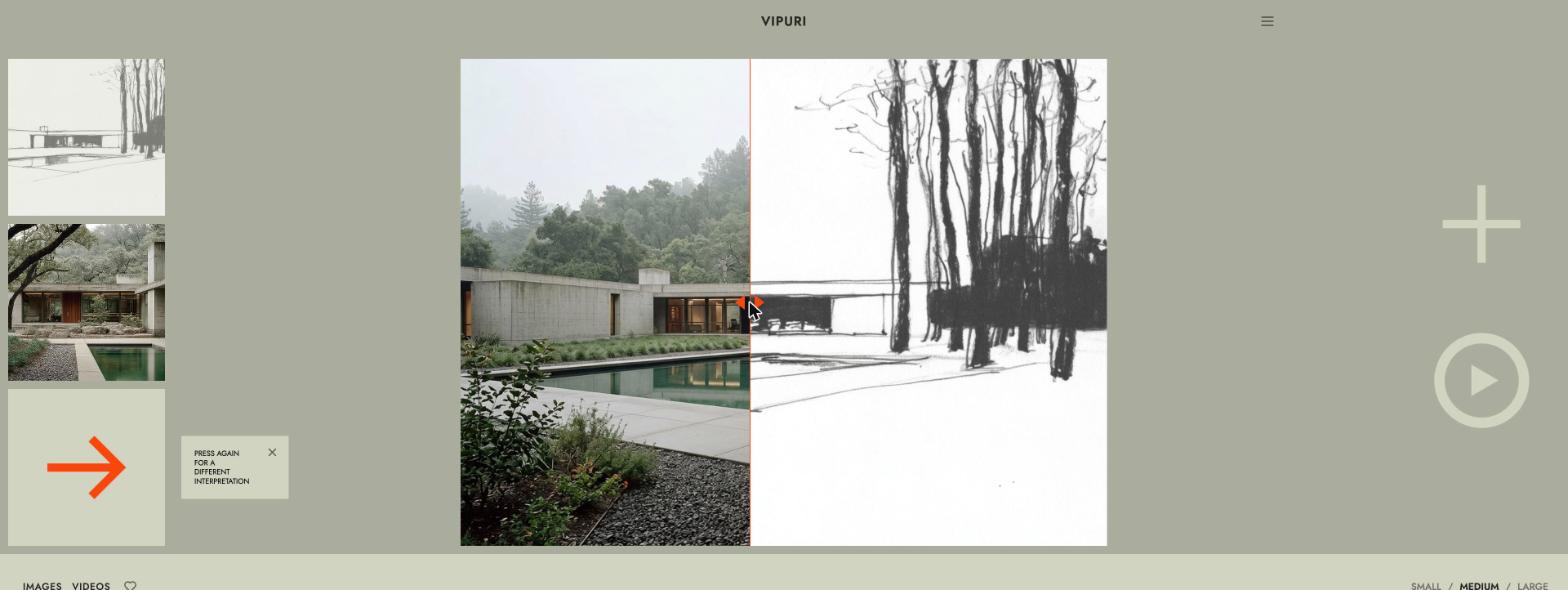
Tip: click Generate again with the same image and preset to get a different interpretation — Vipuri won't produce the exact same result twice.